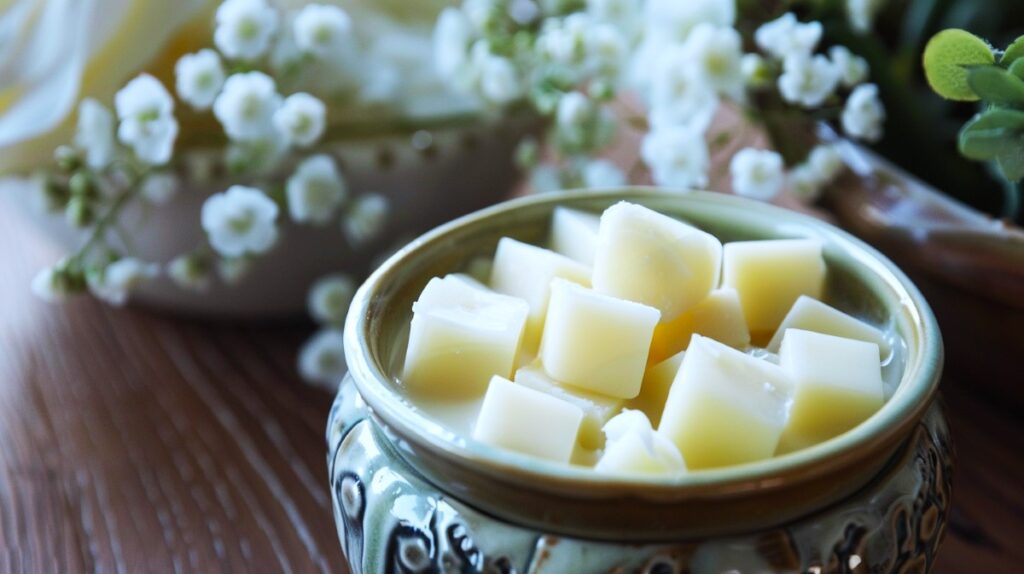
Ultimate Guide: How to Clean a Wax Warmer Dish: 4 Easy Steps
Have you ever noticed that your wax warmer dish isn’t quite as effective as it used to be? It’s probably due for a thorough cleaning. Keeping your wax warmer dish spotless is essential for a safe and stress-free waxing experience.
- Gathering Cleaning Supplies
- Step-by-Step Cleaning Process
- Additional Wax Warmer Tips
- Wrap-up: Clean Wax Warmers Equal Superior Fragrances
- How to Clean a Wax Warmer Dish: FAQs
- 1. Can I use rubbing alcohol to clean my wax warmer dish?
- 2. How often should I clean my wax warmer dish?
- 3. What should I do if wax spills onto the base or electrical components?
- 4. Can I put my wax warmer dish in the dishwasher?
- 5. Is it safe to use essential oils in my wax warmer?
- 6. How can I prevent wax from sticking to the dish in the first place?
- 7. Can I use a hairdryer to melt leftover wax for easier cleaning?
- 8. What should I do if my wax warmer dish has scratches?
In this guide, we’ll walk you through a step-by-step process to make sure your dish is always in top shape.
A clean wax warmer prevents unwanted fragrance blending, lower heating efficiency, a burning smell due to household dust, and increased allergens. Cleaning your warmer is simple. Let’s dive in.
Gathering Cleaning Supplies
Ensuring your wax warmer dish stays clean is crucial for an enjoyable waxing experience. You will likely have most, if not all, of the cleaning supplies below
Here’s what you’ll need:
- White Vinegar: Great for cutting through wax residue without being harsh on the dish.
- Baking Soda: Perfect for scrubbing and removing tough spots gently.
- Mild Dish Soap: Ideal for a general cleaning without leaving behind any toxic chemicals.
- Microfiber Cloths: Soft and lint-free, these cloths help prevent scratches on the dish.
- Soft Sponges: Perfect for getting into those nooks and crannies without damaging the surface.
If you don’t have microfiber cloths for cleaning jobs like this, we’ve reused fabric from old cotton t-shirts, or similar.
Eco-Friendly All-Natural Cleaning Options
Choosing eco-friendly cleaning supplies is not only beneficial for the environment but also for your health. Natural cleaners like lemon juice, essential oils, or plant-based solutions are great alternatives to chemical-laden products.
We often use white vinegar for cleaning, along with essential oils, lemon juice, baking soda, and other common household items. For dish soap, we like to make our own homemade version using castile soap as a base.
These eco-friendly options are gentle on your skin and the environment, ensuring a safe cleaning process.
Step-by-Step Cleaning Process
By following a simple step-by-step cleaning process, you can ensure that your wax warmer dish looks great but also emits your chosen fragrances as designed. Let’s explore a few detailed steps to efficiently clean your wax warmer dish.
Step 1: Cooling Down the Wax Warmer
Before diving into the cleaning process, allow your wax warmer to cool down completely.
As we know, wax warmers are designed to retain heat. Cleaning a hot dish can be dangerous, so please don’t rush the process by trying to clean a warm or hot wax warmer.
Plus, letting your wax warmer cool down will make cleaning a lot easier. Once your warmer has cooled, be sure to unplug it as well before proceeding to the next step.
Step 2: Wiping Off Excess Wax
To start cleaning, gently wipe off any excess wax residue from the dish using a soft cloth or paper towel.
- Removing the excess wax prevents buildup and ensures a cleaner melting surface for your next waxing session.
- Thoroughly wiping off the residue also helps prevent any unwanted mixing of scents when using different wax melts.
Think of it like cleaning a plate before putting it in the dishwasher; the less gunk left behind, the more effective the cleaning will be.
Step 3: Cleaning with Warm Soapy Water
Prepare a solution of warm water and mild dish soap.
- Dip a soft sponge or cloth into the soapy water and gently clean the wax warmer dish. You don’t need a lot of water. Keep all electrical components dry while cleaning.
- Avoid using abrasive materials that could scratch or damage the dish.
- Gentle patient cleaning is the rule of thumb here. Take your time and go over any areas with a lot of wax residue a few times.
By using warm, soapy water, you can effectively remove any remaining wax residue and dirt, leaving your dish clean and ready for future use. The combination of warmth and soap is perfect for breaking down any residual wax.
If you find that after passing over areas with residue, a lot of residue remains, you likely have wax build-up in your cloth. If that’s the case, simply clean out your cloth or use a second cloth to continue cleaning. This is a super important tip if your wax warmer has a lot of wax build-up.
Step 4: Drying and Storing the Dish
After cleaning, thoroughly dry the wax warmer dish with a clean towel to prevent water spots or leftover residue.
Pro tip: A bit of isopropyl alcohol on a cotton ball or some white vinegar will easily remove any leftover residue,
Proper drying is essential to prevent mold, mildew, and water from mixing with your wax if you plan to use the warmer shortly after cleaning.
Once dry, store the dish in a cool, dry place away from direct sunlight. Consider covering it with a cloth or placing it in a protective container to prevent dust accumulation between uses. Dush will taint your wax fragrance over time and could even lead to a burning smell.
So, when not in use, store your wax warmer with your fine china in a dish cabinet or somewhere similar. The cleaner it is, the better your next aromatic experience will be.
Additional Wax Warmer Tips
In addition to a regular cleaning routine with the simple steps we outlined above, there are additional tips you can incorporate to get a consistent wax-warming fragrance experience every time.
- Use Liners: To make cleaning easier, consider using wax melt liners. These disposable liners prevent wax buildup directly on the dish, allowing for quick and mess-free changes between different fragrances. We highly recommend this; it will make your life a lot easier.
- Rotate Fragrances: To avoid mixing scents and maintain a fresh environment overall, rotate the fragrances you use in your wax warmer dish from time to time. If you aren’t cleaning your dish in between fragrance rotations (we all do it sometimes), choose a fragrance that will pair well with the old leftover fragrance residue. We don’t recommend doing this frequently.
- Check for Residue: Inspect the dish for any leftover residue or debris after each use. Wiping it down with a damp cloth or paper towel can help prevent buildup and ensure a clean surface for the next wax-melting session.
- Periodically Check for Damage: Inspect your wax warmer dish for any signs of damage or wear. Cracks or chips in the dish can harbor bacteria and affect the warmer’s efficiency. Most cracks are due to mishandling or manufacturer defects. With that in mind, if you ever order a new wax warmer, look it over very well before using it for the first time.
The above tips are very simple, so take the time to implement them. You’ll thank us!
Wrap-up: Clean Wax Warmers Equal Superior Fragrances
Maintaining a clean wax warmer dish is about more than keeping things tidy—it’s about enhancing your entire waxing experience.
By incorporating these cleaning tips and eco-friendly options, you can ensure a safer, more efficient, and enjoyable experience every time you use your wax warmer.
Key Points to Remember:
- Gather Cleaning Supplies: Utilize supplies like white vinegar, baking soda (as an extra abrasive, when needed), and eco-friendly alternatives for effective, non-damaging cleaning.
- Follow the Step-by-Step Cleaning Process: Cooling down the warmer, wiping off excess wax, and using warm, soapy water are key steps to a spotless wax warmer dish. Always avoid getting any moisture on electrical components.
- Simple Maintenance Tips: Regular cleaning, using liners, rotating fragrances, and checking for residue are simple ways to ensure easy wax warming every time.
We love DIYs, especially when they’re easy. Follow our guide’s tips to prevent the hassle of dealing with a dirty wax warmer and tainted fragrances.
How to Clean a Wax Warmer Dish: FAQs
1. Can I use rubbing alcohol to clean my wax warmer dish?
Yes, you can use rubbing alcohol (isopropyl alcohol) to clean your wax warmer dish. It effectively dissolves wax residues and is great for a quick wipe-down. As we mentioned earlier in our guide above, we recommend using isopropyl as a final step in the cleaning process.
Simply dampen a cotton ball or cloth with rubbing alcohol and wipe the dish clean. This can be especially useful for removing any remaining residue after cleaning with warm, soapy water.
2. How often should I clean my wax warmer dish?
You should clean your wax warmer dish after every few uses to prevent wax buildup and maintain optimal performance.
If you frequently change fragrances, consider cleaning it after each use to avoid scent mixing. Regular maintenance ensures your wax warmer functions efficiently and keeps your scents pure.
3. What should I do if wax spills onto the base or electrical components?
If wax spills onto your wax warmer’s base or electrical components, unplug the unit immediately and allow it to cool completely.
Once cooled, gently scrape off the hardened wax with a plastic scraper or credit card. Use a cloth dampened with warm, soapy water to clean the surface, avoiding any direct contact with the electrical parts. Ensure everything is completely dry before using the warmer again.
4. Can I put my wax warmer dish in the dishwasher?
It is generally not recommended to put your wax warmer dish in the dishwasher. The heat and detergents used in dishwashers can damage the dish or remove its non-stick coating.
Manual cleaning with warm, soapy water and a soft sponge is safer, more effective, and the only way we’d ever recommend cleaning a wax warmer.
5. Is it safe to use essential oils in my wax warmer?
Yes, it is safe to use essential oils in your wax warmer.
However, if you switch between wax melts and essential oils, you should clean the dish thoroughly between uses to avoid cross-contamination and unintended scent combinations. Ensure that your wax warmer is designed to handle essential oils to prevent any damage.
6. How can I prevent wax from sticking to the dish in the first place?
Using wax warmer liners or parchment paper can help prevent wax from sticking to the dish. These liners are disposable and make cleanup easier.
Additionally, regularly cleaning your dish and ensuring it is dry before adding new wax can reduce the likelihood of sticking.
7. Can I use a hairdryer to melt leftover wax for easier cleaning?
Yes, a hairdryer can be used to melt leftover wax for easier removal.
Set the hairdryer to a low heat setting and gently warm the wax until it softens. Once melted, wipe away the wax with a paper towel or cloth. This method is useful for removing stubborn wax residues without scratching the dish.
8. What should I do if my wax warmer dish has scratches?
If your wax warmer dish has scratches, be cautious about using it. Scratches can harbor bacteria and affect the melting process. Consider replacing the dish if the scratches are deep or if they impact performance.
For minor scratches, continue to clean and dry the dish thoroughly to prevent further damage. Be extra gentle around the scratched areas.


