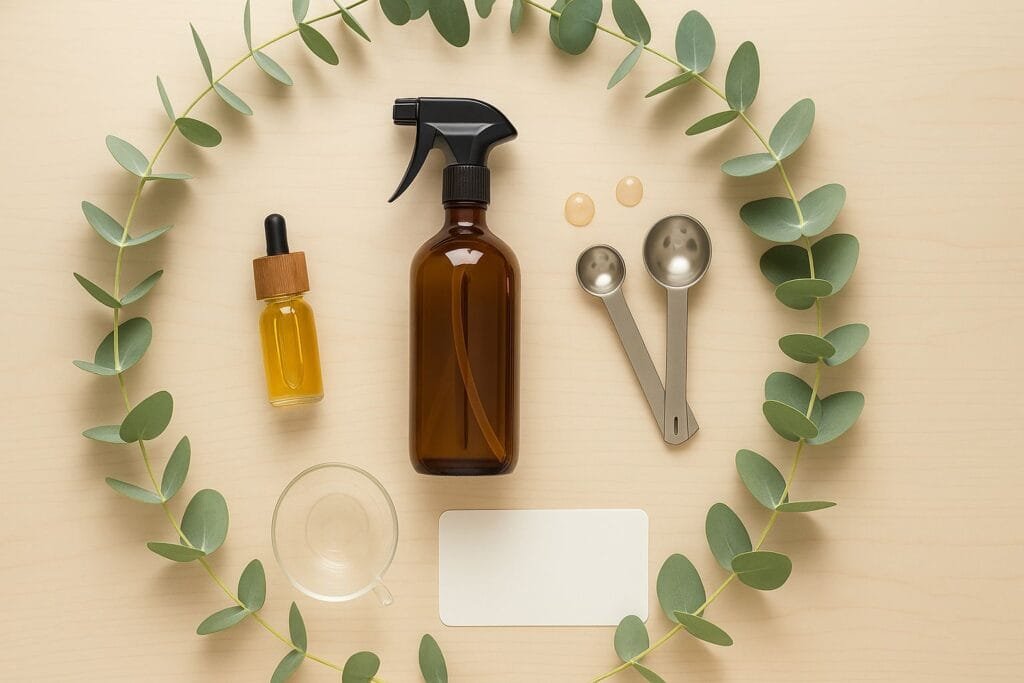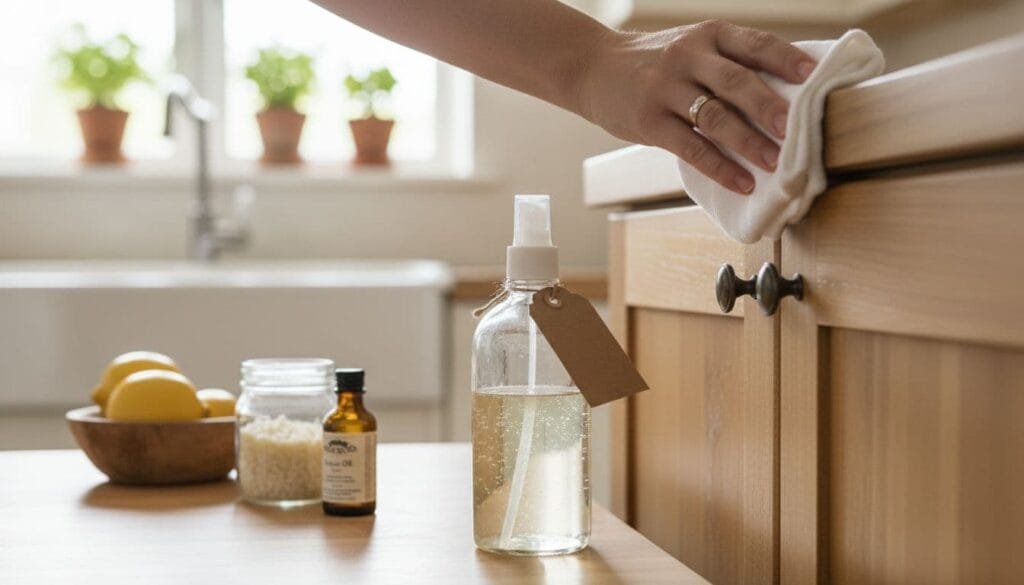
DIY Non-Toxic Bathroom Cleaners That Work (No Bleach)
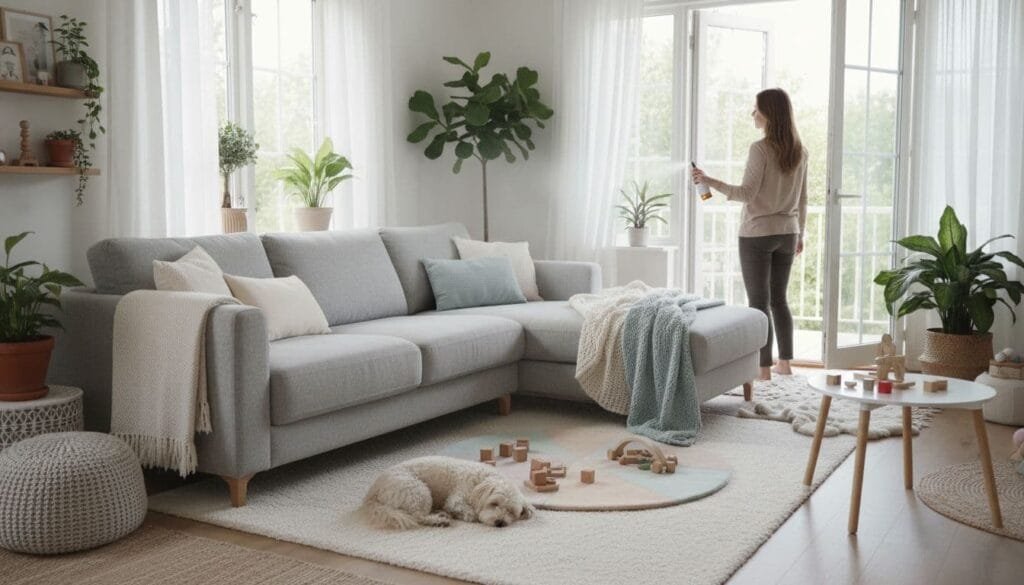
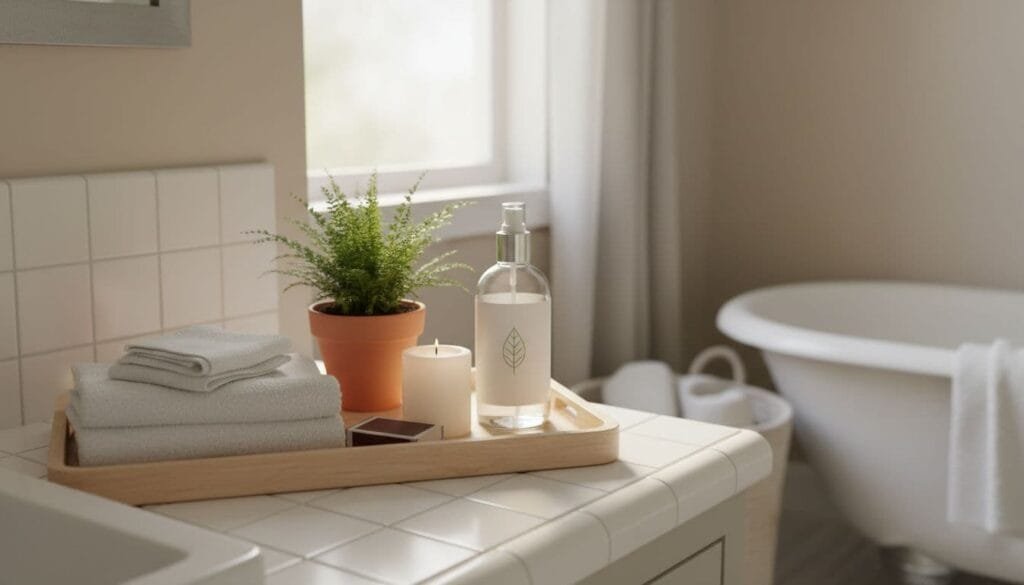
DIY Non-Toxic Bathroom Cleaners That Work (No Bleach) If you walk into your bathroom and wrinkle your nose at the harsh cleaner smell, then worry about what everyone is breathing, you’re not alone. Is there a better way to keep
DIY Non-Toxic Bathroom Cleaners That Work (No Bleach) Read More »