How to Prevent Lint in Your Hairbrush: 5-Minute Cleaning
Maintaining a clean hairbrush is vital for hair health and hygiene in general. A brush clogged with lint can harbor dirt and oils that may transfer back onto your strands.
- Hair Brushes: Why So Much Lint Buildup?
- Selecting the Right Tool for the Job
- Preventative Measures Against Lint
- Initial Steps to Clean Your Hairbrush
- 5-Minute Brush Washing Process
- After Care and Maintenance
- How to Prevent Lint in Your Hairbrush FAQs
- What methods can I use to prevent lint from accumulating in my hairbrush?
- Are there specific types of hairbrushes that are less prone to lint collection?
- What techniques are effective in removing lint and dust from hairbrushes?
- Can the material of a hairbrush bristle affect lint accumulation?
- How do I know when I should purchase a new hairbrush?
Lint accumulation in a hairbrush is a common issue. It stems from a variety of sources, such as dead skin cells, hair products, and dust from the environment.
- Preventing lint build-up should be part of your regular grooming routine to ensure your hairbrush stays clean and effective.
- Understanding the reasons behind lint formation in your brush can help you tackle the issue effectively.
For instance, using a hairbrush with synthetic bristles might increase the likelihood of lint build-up compared to those with natural materials.
Proper cleaning techniques, combined with regular maintenance, play a crucial role in keeping your hairbrush lint-free. This not only contributes to better hair care but also prolongs the life of your brush.
Creating a defensive strategy against lint involves a few simple yet efficient methods. By routinely removing hair strands from the brush and implementing correct washing habits, you can significantly reduce future accumulation of debris.
Storing your hairbrush in a protected environment shields it from dust and lint that can gather when it’s not in use. These preventative measures will leave your brush clean and your hair looking its best.
Hair Brushes: Why So Much Lint Buildup?
Let’s explore what contributes to lint and dirt accumulation, as well as the overall impact.
3 Causes of Lint Accumulation
1.) Lint buildup in your hairbrush is not just a matter of stray dust fibers from your environment. It’s largely due to a combination of dead skin cells and natural oils (sebum) that your scalp produces.
2.) As you brush, your brush also collects hair strands that may have product residue or dust on them. If your hair type is particularly oily or if you use a lot of styling products, you might notice more lint.
3.) Moreover, the bristles of the brush provide a perfect breeding ground for these elements to cling to, leading to more lint accumulation.
Effects on Scalp Health and Hair Care Routine
A clean hairbrush is essential since a dirty brush can harbor bacteria, which might lead to skin irritation or even affect hair follicles negatively.
Frequent brushing with a lint-filled brush can redistribute whatever is caught in the brush back onto your hair and scalp. This can potentially clog pores or dull your hair.
In addition to aesthetic issues, there could be hygienic concerns, as the combination of debris can turn your hair brush into an unintended bacterial habitat.
Selecting the Right Tool for the Job
When selecting a hairbrush, understanding the relationship between different brush types and their ability to attract lint is crucial to maintaining a clean grooming tool.
Types of Brushes and Their Propensity for Lint
Hair brushes come in various shapes and materials, each with a different tendency to attract lint.
Paddle brushes often have a large, flat surface that can gather fabric particles more easily. From experience, I know how these things can literally act as a link magnet for lint compared to my smaller round brushes.
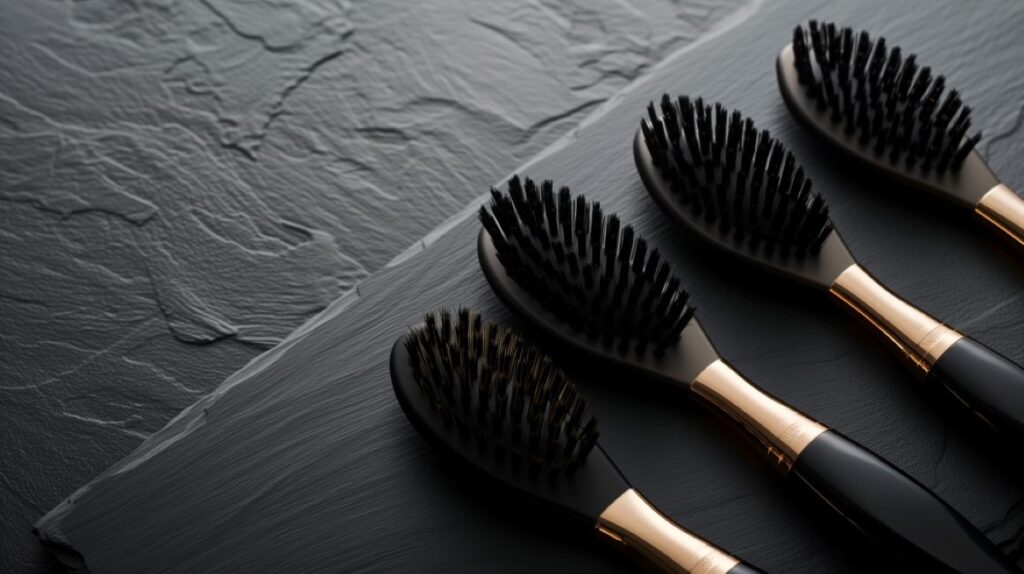
On the other hand, boar bristle brushes tend to be less prone to lint accumulation due to the natural bristles’ oil-distributing properties, which help repel debris.
Materials That Attract Lint
Your brush’s composition plays a significant role in lint attraction.
- Plastic brushes are generally more likely to retain lint and hair product buildup.
- Brushes with a wooden handle and natural bristles are less conducive to lint build-up since wood has a naturally resistant surface to static and lint adhesion.
Identifying a Lint Magnet Brush
To identify if your brush is a lint magnet, observe the brush bristles after each use.
If you consistently find fabric particles trapped in the bristles despite regular cleaning, you likely have a brush that attracts lint due to its material or structure.
Look for a brush that remains relatively clean as an indication of being less prone to lint accumulation.
Preventative Measures Against Lint
Maintaining a clean hairbrush requires attention to the way you use and care for it. Simple, effective techniques can dramatically reduce lint accumulation, keeping your grooming tools in pristine condition.
Proper Brush Usage to Minimize Lint
As mentioned earlier, brushes with natural bristles are less likely to generate lint compared to those with synthetic bristles. When possible, opt for a high-quality brush made from natural materials.
Choose Your Brush Wisely: The type of brush you use can impact the amount of lint produced.
Clean After Use: Immediately after using your hairbrush, we recommend taking just a moment to remove any loose hair strands. This prevents buildup and reduces the amount of lint that can stick to your brush.
- Use a Clean Towel: After each brush, a quick wipe with a clean towel can help remove any residue that might contribute to lint formation.
- Incorporate Regular Cleaning: Build a hair care routine that includes a weekly cleanse of your hairbrush. Soak the brush in a solution of warm water and gentle shampoo, then scrub the base and bristles before rinsing and letting it dry completely.
Reducing Static and Fabric Contact
Tackle Static Electricity: Static can cause your hairbrush to attract more grey lint and dust.
Using a few sprays of dry shampoo on your brush before you run it through your hair can help minimize static buildup.
- Opt for a Dry Environment: Store your hairbrush in a dry place away from excess humidity to prevent static, which attracts lint.
- Avoid Oily Hair: If your hair tends to be oily, that could increase the risk of attracting lint. Manage oily hair with products like dry shampoo to absorb excess oil and diminish lint adhesion.
- Limit Fabric Interaction: When not in use, keep your hairbrush away from contact with fabric materials that shed fibers.
A dedicated drawer or a storage container can act as a barrier against floating fibers that cause lint to collect in your hairbrush.
Initial Steps to Clean Your Hairbrush
Proper maintenance of your hairbrush involves a routine to eliminate hair and lint and preparing it for a thorough wash. It literally takes minutes to clean your brush, and it is well worth the effort.
First Step: Removing Loose Hair and Lint
Start by addressing the bristles of your hairbrush. If you’re dealing with a lot of hair, lift and pull away these strands using your fingers or a comb.
For the finer hair lint stubbornly entangled in the bristles, use tweezers or an old toothbrush to gently tease them out. This will help reduce the buildup and make the washing process more effective.
Next Step: Preparing for Washing
Once the loose hair and lint are removed, you’re ready to move on.
Prepare a cleaning solution of warm water and mild soap; this will serve as your cleansing bath and brush soak. If the brush is heavily soiled, consider adding a small amount of baking soda to help dislodge oils and product residue.
5-Minute Brush Washing Process
Simply washing your brush every once in a while will not only keep it clean, but it’ll last longer, too.
Choosing the Right Cleaning Agents
To start, select cleaning agents suitable for your hairbrush.
- A common choice is warm, soapy water; you can achieve this by adding a few drops of shampoo to a container with warm water.
- This mixture will help dissolve hair product residue.
- For a deeper clean, consider using a DIY dish soap due to its degreasing properties.
Thorough Cleaning Techniques
- Begin by removing loose hair from the bristles.
- Submerge the brush in the mixture of warm water and the cleaning agent of your choice, ensuring only the bristles are covered to protect the handle.
- Gently scrub the brush with a toothbrush. The idea is to use friction and agitation to dislodge any dirt, grime, or residue.
- After cleaning for a couple of minutes, shake off excess water, then take a dryer sheet and move it through the bristles to help lift and remove lint.
- Rinse the brush with clean water to wash away any excess residue and remaining soap.
Once you’re all done cleaning the hairbrush, lightly dry it off, then allow it to air dry completely.
After Care and Maintenance
Once you’ve cleaned your hairbrush, the next priority should be preventing lint and residue buildup. It will get dirty again, but you can implement a few simple steps to keep it lint-free between cleanings.
Drying the Brush Properly
After cleaning your hairbrush, it’s crucial to dry it completely to avoid trapping moisture at the base of the bristles, which can lead to the accumulation of mold or mildew.
- If your hairbrush has a wooden handle, it’s particularly important to allow it to air dry upright so it dries quickly.
- Brushes with natural bristles should be laid on a dry towel with the bristles facing down to ensure water doesn’t collect at the base, potentially causing the bristles to deteriorate over time.
Routine Maintenance Tips
Now, let’s dive into a few more tips for keeping your brush performing at its best.
- Remove Old Hair: After each use, take a few moments to pull out any strands of hair. If this proves difficult, a rat tail comb or a lice comb can be effective in teasing out tangles and hair.
- Weekly Cleaning: Depending on your product use, aim to clean your brush at least once a week to prevent the buildup of lint. Use mild soap and warm water for brushes with synthetic bristles. If you have a wooden brush, you’ll want to clean it more sporadically since wood will be less durable with constant cleaning.
- Avoid Harsh Chemicals: Hair sprays, leave-in conditioners, and other styling products can leave a residue that attracts lint. When cleaning, avoid harsh chemicals that can damage both the natural bristles and the wooden handle.
Remember, different brushes may require different ways of maintenance, so always adapt these tips to suit the specific hair tools you own.
How to Prevent Lint in Your Hairbrush FAQs
What methods can I use to prevent lint from accumulating in my hairbrush?
To prevent lint from building up in your hairbrush, make sure to regularly remove hair strands after each use and wash your hairbrush with warm, soapy water. Additionally, drying the brush bristle-side down can prevent lint from settling.
The more dirty your brush, the more lint it will collect. We recommend cleaning it weekly.
Are there specific types of hairbrushes that are less prone to lint collection?
Yes, hairbrushes with natural bristles, like boar hair, are less likely to attract lint compared to those with synthetic bristles.
What techniques are effective in removing lint and dust from hairbrushes?
To remove lint and dust, use a toothbrush or a specially designed hairbrush cleaning tool to scrub between the bristles gently. You might also consider using a vacuum with a small nozzle attachment for more thorough cleaning.
Can the material of a hairbrush bristle affect lint accumulation?
Indeed, the material of the bristles can influence how much lint accumulates. Brushes with natural materials generally retain less lint than those with synthetic bristles.
How do I know when I should purchase a new hairbrush?
When bristles start to bend or show signs of damage, it’s time to consider purchasing a new hairbrush.