Natural DIY Wood Cabinet Cleaning Solutions: 3 Easy Recipes
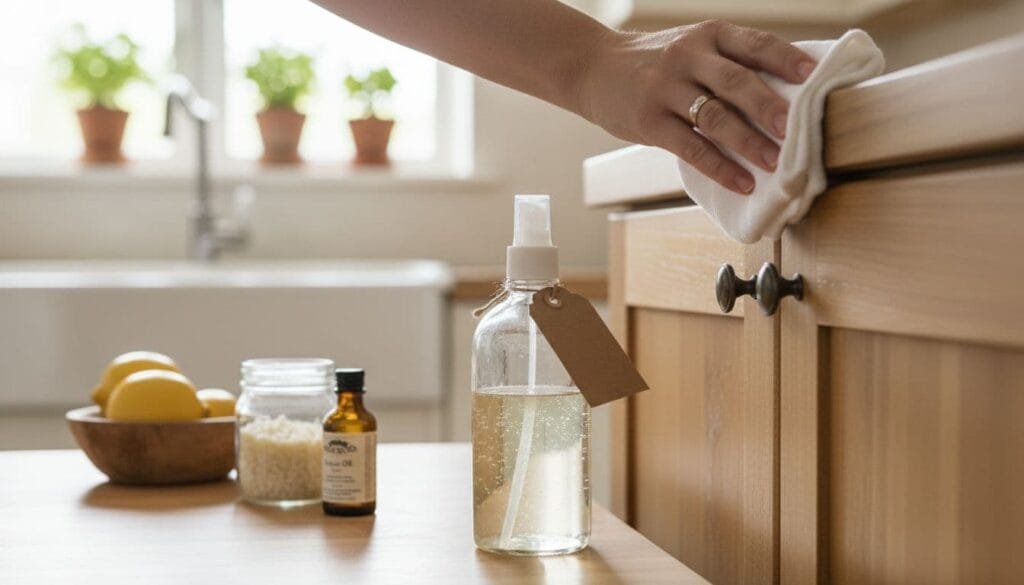
Sticky fingerprints, cooking splatters, and the mystery smudge that shows up every week, cabinets see it all. If you want a simple way to clean them without harsh chemicals, you are in the right place. Homemade wood cabinet cleaning solutions are gentle, budget-friendly, and easy to mix in minutes.
Skip to the cleaner recipes
I reach for natural cleaners because they are safer around kids and pets, and they save money over time. The best part, they actually work. Below you will find simple recipes that remove grease and fingerprints, plus a step-by-step method that protects your finish and keeps wood glowing.
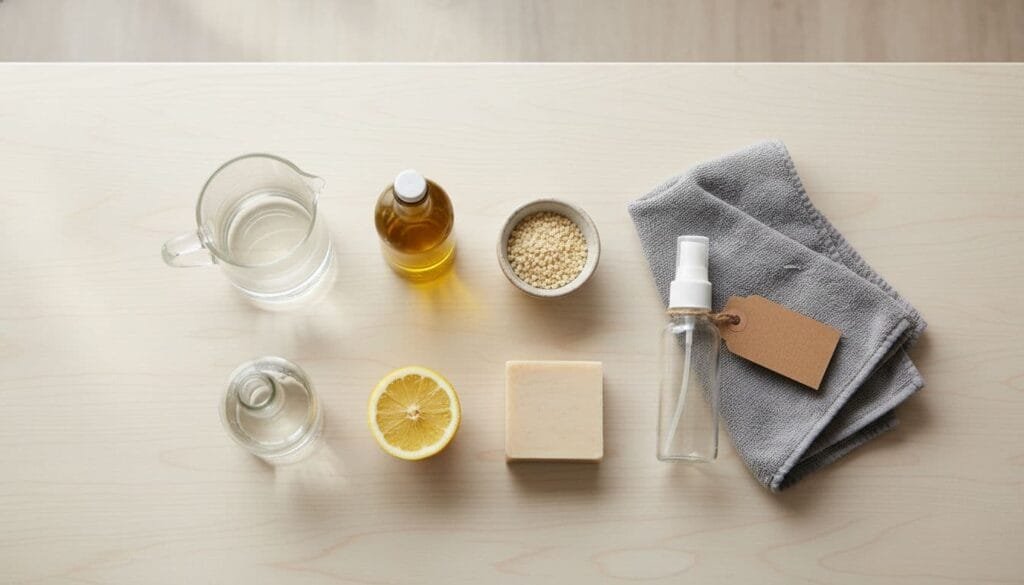
Every recipe uses pantry staples, like distilled water, white vinegar, olive or jojoba oil, lemon, mild castile soap, and beeswax. Always test on a hidden spot first, then clean the rest with confidence. Coming up: a daily cleaner, a grease-cutting spray, a beeswax polish for shine, what to avoid, and a practical routine that keeps cabinets looking new.
Why Choose Natural Wood Cabinet Cleaning Solutions
Homemade cleaners use safer ingredients and leave less residue. You control the scent, the strength, and the shine. They cost pennies to make and don’t load the air with strong fumes.
Finishes matter, though. Most kitchen cabinets are sealed with polyurethane or paint, which handles light water-based cleaners well. Waxed or oil-finished wood prefers oil-based care with very little acid. Antique finishes and delicate coatings can be sensitive and need extra care.
Ingredients that work:
- Distilled water
- White vinegar (diluted well)
- Olive oil
- Jojoba oil
- Beeswax
- Mild castile soap
- Essential oils.
What to avoid:
- Ammonia
- Bleach
- Abrasive powders
- Undiluted vinegar
- Straight citrus juice
- Using too much water
Key Takeaway: Pick the right cleaner for your cabinet’s finish, use light moisture, and always buff dry.
Know Your Finish Before You Clean
- Sealed or painted cabinets: usually safe with diluted vinegar cleaners and light oil.
- Waxed or oil-finished cabinets: prefer mild oil-based cleaners; use vinegar very sparingly or skip it.
- Antique or delicate finishes: avoid acids like vinegar or lemon; use a gentle oil polish only.
- Testing: wipe a small hidden area, let it dry, check for dulling, clouding, or color change.
Simple Tools That Make Cleaning Easier
- Microfiber cloths for dusting and buffing.
- Soft toothbrush or small detailing brush for grooves and edges.
- A glass spray bottle to mix recipes.
- Cotton swabs for around hardware.
- A dry towel to remove extra moisture right away.
If you like to mix larger batches, learn how to store them safely in the kitchen with these practical storage tips: How to Store Cleaning Products in the Kitchen: Safety Tips.
DIY Wood Cabinet Cleaning Solutions That Clean and Shine
These recipes cover everyday dust, sticky grease, and deep shine. Keep mixtures labeled, shake before use, and always buff dry.
1. Everyday Natural Cleaner (for Dust & Smudges)
- Best for: Quick dusting and wiping smudges on sealed or painted wood cabinets.
- Why it works: Diluted vinegar cuts light grime, the oil adds slip and shine, and a microfiber cloth lifts dust without scratching.
Ingredients
- 1 cup distilled water
- 1/4 cup white vinegar
- 2 tsp olive or jojoba oil
- 10–15 drops lemon or lavender essential oil (optional)
- Glass spray bottle
Instructions
- Add the water, vinegar, oil, and optional essential oils to a glass spray bottle.
- Shake well before each use (the oil and water will separate).
- Spray lightly onto a clean microfiber cloth, not directly on the wood.
- Wipe the cabinets along the grain, then buff dry with a separate clean, dry cloth.
Pro-Tips
- Caution: Avoid over-wetting the wood. A light mist on the cloth is all you need.
- Pro-Tip: Skip the essential oils if your family is scent-sensitive.
2. Grease-Cutting Spray (for Sticky Kitchen Cabinets)
- Best for: Removing sticky grease and grime from kitchen cabinets.
- Why it works: The castile soap gently lifts grease, while the vinegar cuts through the grime without harsh chemicals.
Ingredients
- 1 cup warm distilled water
- 1 tbsp white vinegar
- 1/2 tsp mild castile soap
- 1 tsp jojoba oil (optional, helps condition)
- Spray bottle
Instructions
- In a spray bottle, gently combine the warm water, vinegar, castile soap, and jojoba oil. Swirl gently to mix. Be sure not to shake, or the soap will bubble.
- Spray the solution onto a clean cloth, not directly on the cabinet.
- Work from the bottom of the cabinet up to avoid drips.
- Gently scrub problem areas like edges and handles.
- Wipe the entire surface clean with a second, damp (water-only) cloth.
- Dry immediately with a final, clean, dry cloth.
Pro-Tips
- Homemaker Tip: Replace your cleaning cloths as they get dirty. A clean cloth prevents you from smearing grease.
- Caution: Use only on modern, sealed finishes. For waxed or antique wood, patch test first or use an oil-only cleaner.
3. Beeswax Wood Polish (for Long-Lasting Shine)
- Best for: Protecting and adding a deep, soft glow to sealed or unsealed wood.
- Benefits: Adds a beautiful shine and a light, water-resistant layer to the wood.
Ingredients
- 1 part beeswax (e.g., 1/4 cup pellets)
- 3 parts olive or jojoba oil (e.g., 3/4 cup)
- Optional: 5-10 drops of lemon or cedarwood essential oil
- Small, wide-mouth glass jar for storage
Instructions
- Melt the beeswax in a double boiler (or a glass jar set in a small pot of simmering water).
- Once melted, remove from heat and stir in the oil until fully combined.
- Stir in essential oils (if using) as the mixture begins to cool.
- Pour into your clean, wide-mouth glass jar and let it cool completely. It will solidify into a soft balm.
- To use, apply a very thin coat with a clean, soft cloth, moving in the direction of the wood grain.
- Let it sit for 10-15 minutes, then buff to a shine with a new, clean cloth.
Pro-Tips
- Pro-Tip: Always apply this in very thin layers. A thick coat will feel sticky and look cloudy.
- Storage: This polish keeps well for months. Store it in a cool, dark place with the lid on.
Scent-Free and Kid-Friendly Versions
- For the Everyday Cleaner, simply skip the essential oils.
- For sensitive homes, you can replace the vinegar in the Everyday Cleaner with 1 tablespoon of high-proof vodka or extra distilled water. If you need a bit more cleaning power, add 1/4 teaspoon of castile soap.
- Always buff the surface completely dry so little hands don’t pick up any residue.
Key Takeaway: Start mild, work in thin layers, and finish dry. That simple rhythm protects your finish and keeps wood looking fresh.
If you are also refreshing floors with natural cleaners, this guide pairs well with today’s recipes: All-Natural Floor Cleaner Recipe: Effective and Easy DIY.
Need DIYs to Clean Everything In Your Home?
You’ve just mastered the simple, natural way to clean your cabinets. What about laundry, floors, windows, and the rest of the house? What about skincare and Haircare?
The Natural Living & Organization Bundle includes my Natural Living Handbook (with 60+ non-toxic recipes for cleaning, skincare, and more) plus the Finally in Control Planner to organize your new routines.

How to Clean Wood Cabinets Step by Step Without Damage
I follow the same steps every time, and it keeps streaks and warping away. Light moisture, wipe with the grain, then dry and buff. Simple and reliable.
Prep Your Space and Test a Hidden Spot
- Clear counters and open windows for airflow.
- Dust first with a dry microfiber cloth.
- Test your chosen cleaner inside a door or under a hinge, let it dry, then check for dulling or color change.
Clean With the Grain, Then Rinse and Dry
- Spray the cleaner onto a cloth, not the wood.
- Wipe in the direction of the grain.
- For grooves, use a soft brush.
- Wipe with a slightly damp cloth to remove residue.
- Finish with a dry cloth to prevent water marks.
Buff for a Natural Shine
- After cleaning, use a fresh dry cloth and buff in small circles.
- For extra luster, add one or two drops of jojoba oil to the cloth and buff again.
- Avoid heavy oiling; thin layers look better and attract less dust.
Clean Hardware, Hinges, and High-Touch Spots
- Handles and edges collect the most grease.
- Use the grease-cutting spray on a cloth, detail with a toothbrush, then dry.
- Don’t soak hinges; moisture can cause rust or squeaks.
How Often to Clean, Polish, and Deep Clean
- Weekly: dust and quick wipe of high-touch areas.
- Monthly: full door and drawer fronts cleaned and buffed.
- Every 3 to 6 months: light beeswax polish if the finish allows it.
- Adjust based on cooking habits, humidity, and family traffic.
Key Takeaway: A short weekly wipe and a monthly deep clean prevent buildup, so you do less scrubbing later.
Troubleshooting: Protect Your Finish and Fix Common Problems
If you see haze, greasy patches that will not budge, or dull rings, stay calm and go slow. Gentle steps restore shine without stripping the finish.
Remove Haze or Build-Up From Old Waxes and Sprays
- Mix 1 cup warm distilled water with 1/2 teaspoon castile soap.
- Wipe a small area, then dry and buff.
- If haze remains, try a tiny amount of mineral spirits on a cloth for sealed finishes only, test first, then clean and buff.
- Avoid scraping or abrasive pads.
A little goes a long way here. Always test and keep passes light.
Tackle Stubborn Grease Safely
- Use the grease-cutting spray with a soft brush on edges and grooves.
- Work slowly and keep your cloths fresh so you don’t smear oil around.
- Repeat light passes rather than heavy soaking.
- Always finish with a dry buff.
Water Spots, Rings, and Dull Patches
- First, dry buff to see if the mark is surface level.
- For sealed wood, rub a pea-sized drop of jojoba oil into the spot, then buff.
- For waxed finishes, apply a tiny amount of beeswax polish, then buff.
- If damage is deep, note that refinishing may be needed.
Mistakes That Can Ruin Wood Cabinets
- Do not spray lots of liquid directly on doors.
- Do not use undiluted vinegar, bleach, or ammonia.
- Do not leave oil sitting; always buff dry.
- Do not use abrasive scrubbers that scratch the finish.
- Skip vinegar or citrus on antiques, shellac, or unknown finishes.
Key Takeaway: Gentle cleaners, light moisture, and patient buffing protect your finish and reduce long-term wear.
Quick Reference: Natural Recipes and Uses
| Recipe Name | Best For | Finish Type | Key Ingredients |
|---|---|---|---|
| Everyday Natural Cleaner | Dust, smudges, light grime | Sealed or painted | Water, vinegar, light oil, essential oil |
| Grease-Cutting Spray | Sticky edges, handles, buildup | Sealed only | Water, vinegar, castile soap, jojoba oil |
| Beeswax Wood Polish | Deep shine, light protection | Waxed, oil-finished, sealed | Beeswax, olive or jojoba oil |
| Scent-Free Kid-Friendly Mix | Sensitive homes, light cleaning | Sealed or painted | Water, vodka or extra water, castile soap |
A Few Final Tips
- Keep one bottle mixed for daily touch-ups.
- Use fresh microfiber cloths; they do most of the work.
- Always buff dry. It’s the difference between a dull film and an attractive sheen.
- Label your mixes and store them safely out of reach.
If you like keeping a tidy, natural home, pairing these cabinet recipes with a simple floor routine makes weekly cleaning quick and predictable. A small, steady routine beats a big scrub later.
Key Takeaway: The best wood cabinet cleaning solutions are simple, gentle, and used consistently.
Wrap-up
Pick the right natural recipe for your finish, test a hidden spot, clean with the grain, then dry and buff. These homemade wood cabinet cleaning solutions are easy to make, gentle on finishes, and strong enough to use as regular cleaning solutions.
Start with the everyday cleaner, then add the beeswax polish when you want extra shine. A few pantry staples and a steady routine bring a healthy, peaceful home and cabinets that look fresh without harsh chemicals.