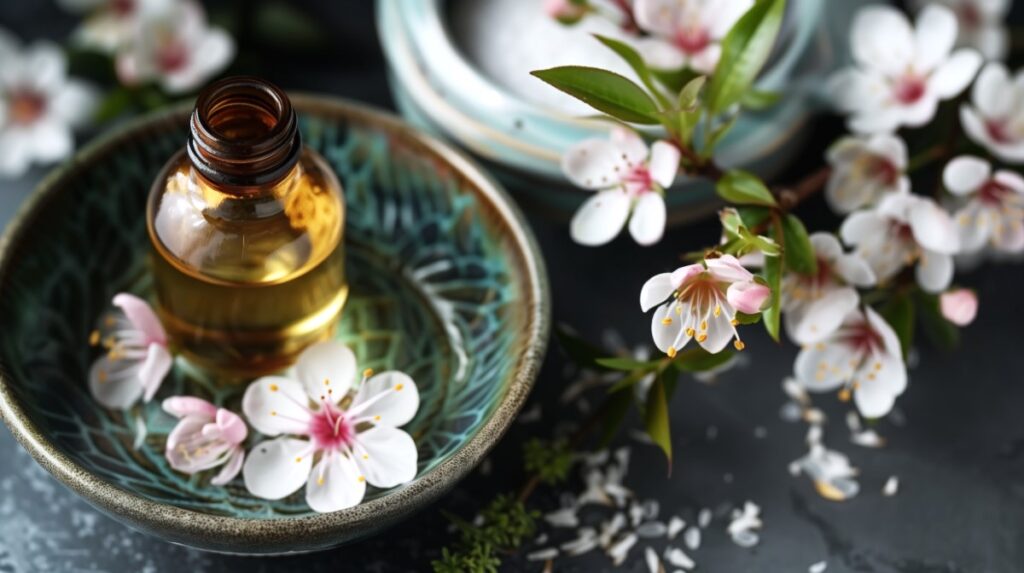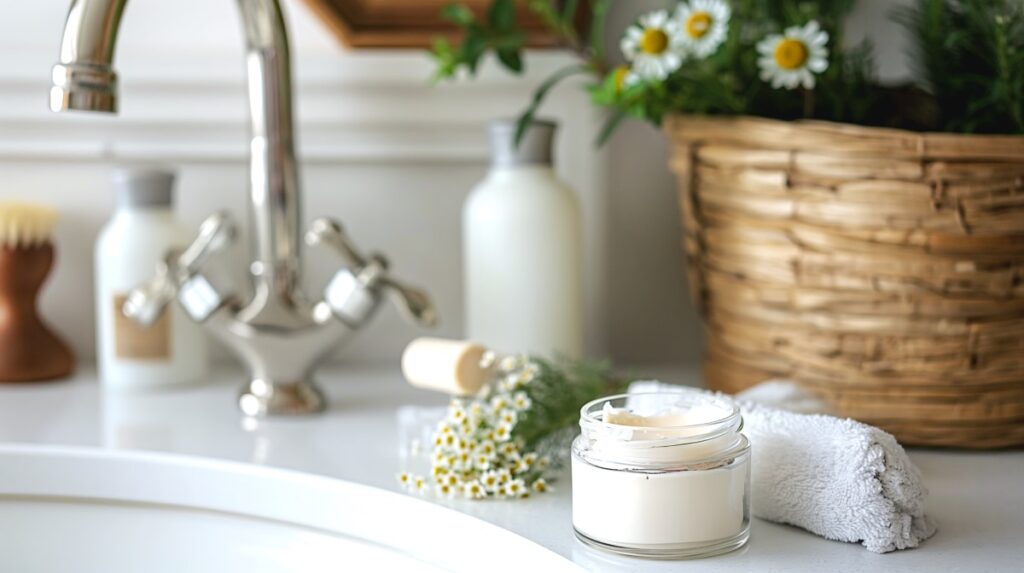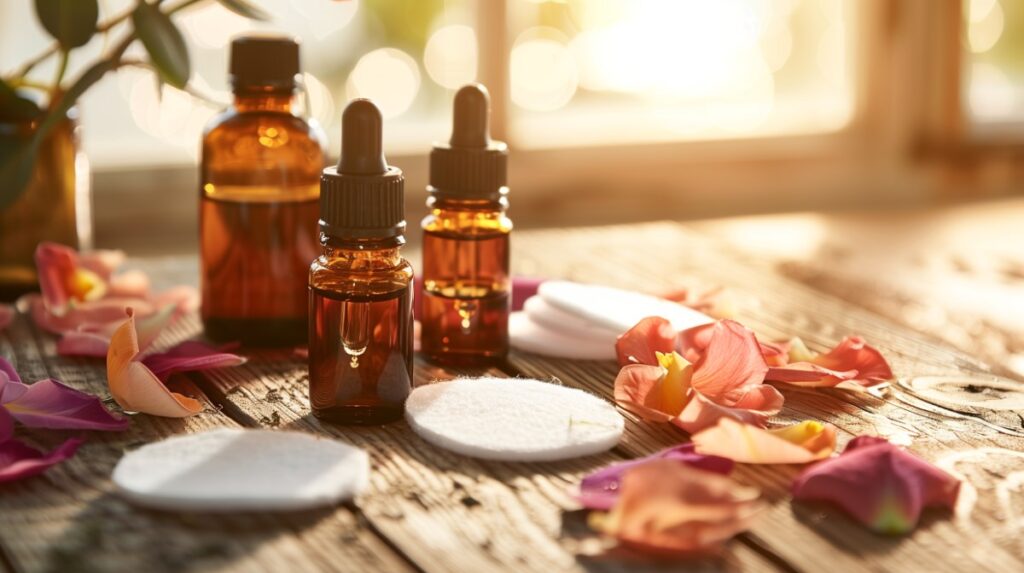
DIY Tea Tree Oil Face Washes for Every Skin Type: 3 Nourishing Recipes
DIY Tea Tree Oil Face Washes for Every Skin Type: 3 Nourishing Recipes Ever wondered how to harness the power of nature for your skincare routine? DIY tea tree oil face wash is easy to make and contains ingredients known
DIY Tea Tree Oil Face Washes for Every Skin Type: 3 Nourishing Recipes Read More »