DIY Essential Oil Diffuser Pads: Comprehensive Guide + Easy Tips
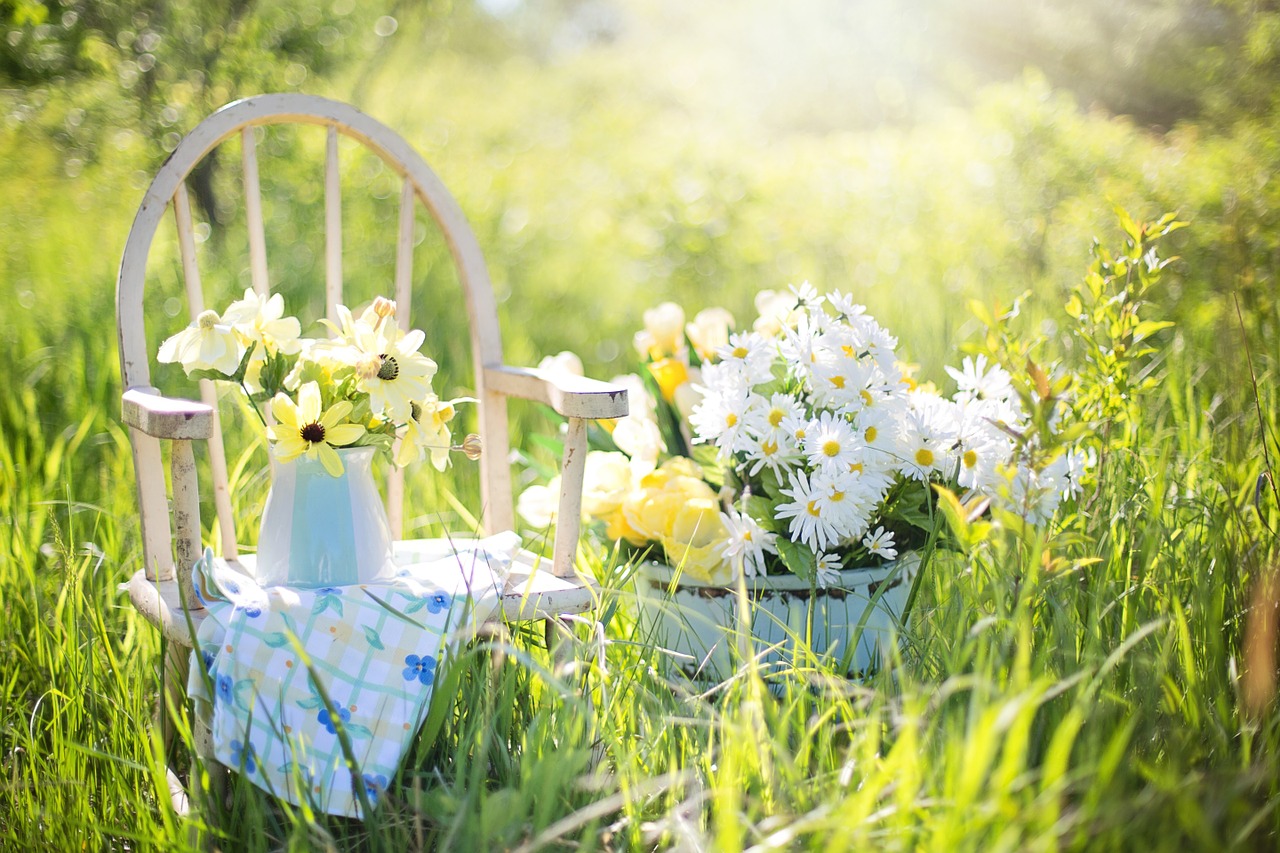
Are you looking for an easy and natural way to elevate your essential oil experience? DIY essential oil diffuser pads might be your new favorite crafting project. Imagine being able to customize your scents and enjoy the benefits of aromatherapy wherever you go. That’s exactly the kind of DIY we love in our family.
You can create personalized diffuser pads that cater to your specific needs and preferences with just a few simple materials and your favorite essential oils. Whether you’re looking to boost your mood, enhance focus, or promote relaxation, these DIY pads offer a versatile solution.
By infusing these pads with your chosen essential oils, you’ll have a portable and convenient way to enjoy the therapeutic effects of aromatherapy throughout your day. Please throw away your synthetic air fresheners and transition to natural options. You won’t regret the change.
With essential oil diffuser pads, you have the power to craft your own aromatic journey from an endless collection of essential oil fragrances.
Benefits of DIY Essential Oil Diffuser Pads
Enhancing Aromatherapy Experience
Essential oils have long been admired for their therapeutic properties, and incorporating them into your daily routine can significantly enhance your well-being.
- DIY essential oil diffuser pads serve as a versatile tool to amplify the benefits of aromatherapy.
- By creating your own diffuser pads, you gain the freedom to customize the scents you surround yourself with, tailoring each experience to your specific preferences.
- Unlike pre-made options, DIY pads offer long-lasting scent diffusion that ensures a continuous and personalized aromatherapy experience.
Whether you seek relaxation, focus, or an energy boost, DIY diffuser pads can help you achieve your desired mood with a few simple drops of your chosen absorbent material.
Eco-Friendly and Cost-Effective:
In today’s world, sustainability is a growing concern for many individuals.
- DIY essential oil diffuser pads present an eco-friendly alternative to disposable options, reducing waste and promoting a greener lifestyle.
- By crafting your own pads, you contribute to minimizing environmental impact by reusing materials and avoiding single-use products.
- The cost-effectiveness of DIY diffuser pads is a significant advantage. Compared to constantly purchasing disposable pads, the money you save will add up pretty quickly compared to store-bought synthetic fragrance options.
With many pad variations and even DIY options, you can reuse them many times. Depending on the material you’re using, we’re talking 20 times or more.
Materials Needed for DIY Essential Oil Diffuser Pads
Creating your own essential oil diffuser pads is a delightful and customizable way to enjoy the benefits of aromatherapy.
Absorbent Materials
When it comes to selecting the ideal absorbent material for your DIY essential oil diffuser pads, consider options like felt, cotton, or wool.
- Felt, with its porous nature, efficiently absorbs and disperses essential oils, allowing for a gradual release of fragrances.
- Cotton is another excellent choice, known for its softness and absorbency, making it perfect for holding scents.
- Wool, with its natural fibers, can also retain essential oils effectively, offering a cozy touch to your diffuser pads.
We suggest experimenting with a few different materials or even using multiple materials until you settle on the option that works best for your needs.
Essential Oils
Choosing the right essential oils is crucial for creating captivating and beneficial diffuser pads.
Consider popular options like lavender, known for its calming properties, or peppermint, which can invigorate and refresh. Citrus oils like lemon or sweet orange bring a bright and cheerful ambiance, while eucalyptus offers a refreshing and clarifying scent. Each essential oil brings unique benefits and aromas to uplift your space and mood.
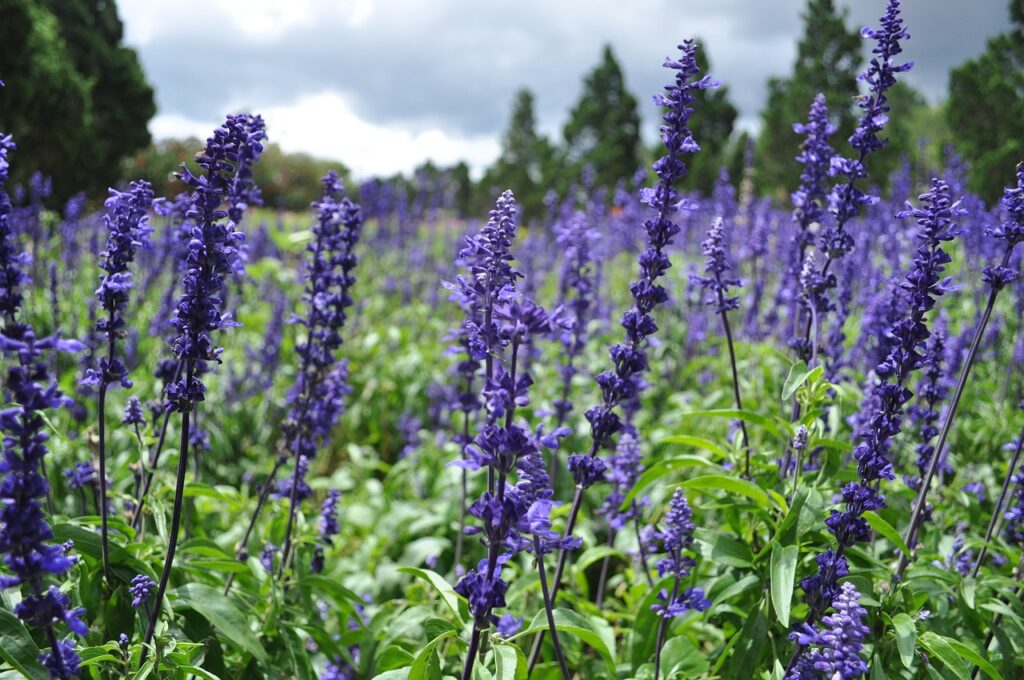
Lavender :
Lavender has always been a staple in our household. Its sweet, floral scent is like an instant stress reliever after a long day. The first time I used lavender in our old diffuser, I placed it by my bedside. The gentle release of its calming aroma helped improve my sleep quality significantly, and it’s great for winding down.
Peppermint:
Peppermint is perfect, particularly when we need a burst of energy and mental clarity. We’ve actually used it during our homeschooling sessions for some additional mental clarity on extra busy days. There’s something invigorating about the crisp, menthol scent that makes it perfect for morning use. It’s an amazing addition to shampoo as well!
Citrus Oils:
For a refreshing atmosphere, I turn to citrus oils like lemon and sweet orange. The zesty, clean scents make the entire room feel brighter and more vibrant. Utilizing these scents in the living room during gatherings or while I’m tidying up always lifts my mood and often garners compliments from guests who notice the uplifting fragrance.
Also, I highly recommend mixing citrus oils with Sandalwood essential oil for a more complex fragrance profile that smells amazing.
Eucalyptus
We love this oil during the cold seasons. Its sharp, slightly medicinal aroma helps clear the sinuses and provides a soothing effect when I’m feeling under the weather. Incorporating eucalyptus oil into a diffuser pad near my workspace not only helps in breathing easier but also adds a refreshing scent that lasts throughout the day.
There are so many more options and blends we use in our household, but the ones mentioned above are amazing options to start with if you’re newer to essential oils and natural fragrances.
Decorative Elements (Optional)
To personalize your DIY diffuser pads, you can add optional decorative elements to enhance their visual appeal. Consider incorporating beads for a touch of elegance or using embroidery to create intricate designs. These decorative touches not only add a personal flair but also add a hint of style.
Crafting your own essential oil diffuser pads allows you to infuse your surroundings with delightful scents while adding a touch of creativity to your decor and you’ll only need to get just a tiny bit creative. They don’t need to be perfect at first. If you have children, they could even help with some of the designs.
Experimenting with different materials and essential oil combinations opens up a world of possibilities.
DIY Essential Oil Diffuser Pad Making Process
Creating your own essential oil diffuser pads is a fun and simple DIY project that allows you to customize scents for your living space. Let’s delve into the step-by-step process of making these aromatic pads:
Cutting the Absorbent Material
- Select Your Material: Choose an absorbent material like felt, cotton rounds, or porous clay that can hold and release essential oils effectively.
- Measure and Trace: Determine the size and shape you want for your diffuser pads and use a ruler and marker to trace out the dimensions on the chosen material.
- Cut Carefully: With sharp scissors, cut along the traced lines to create individual pieces of absorbent material for your diffuser pads.
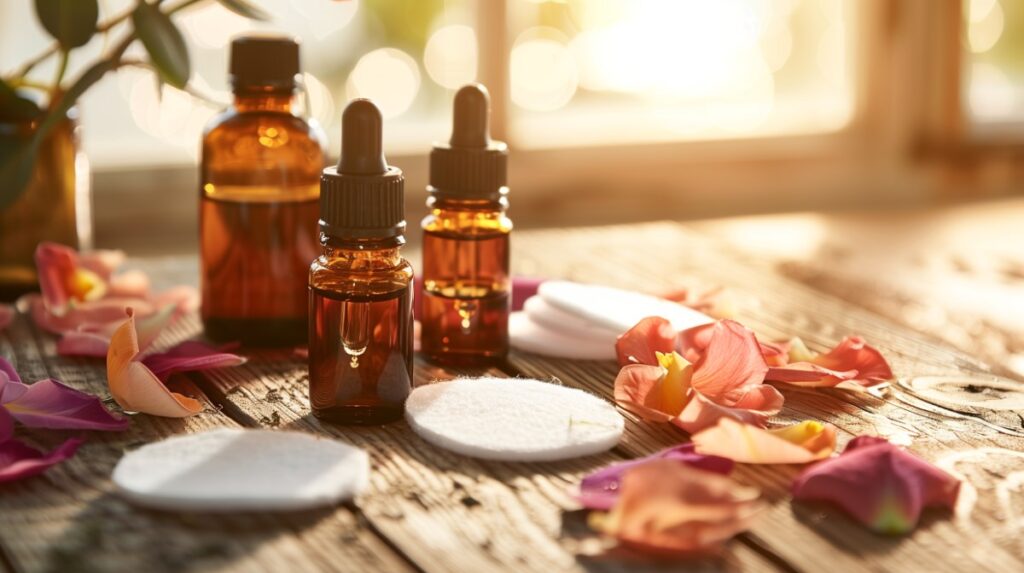
Adding Essential Oils
- Choose Your Oils: Select your favorite essential oils or blends that suit your mood or the ambiance you want to create in your space.
- Apply Sparingly: Place just a few drops of the essential oil onto the absorbent material, ensuring even distribution without oversaturating the pad. Remember, EOs are highly concentrated, so you can use gloves for this step. Regardless, wash your hands afterward and avoid rubbing your eyes.
- Allow Absorption: Let the essential oil permeate the material for a few minutes to ensure the scent is fully absorbed before use.
Assembling the Diffuser Pads
- Layering Process: If using multiple layers for your diffuser pads, carefully stack them together, ensuring the scented layer is enclosed within the others.
- Secure the Layers: Use clips, rubber bands, or a simple sewing technique to secure the layers in place, allowing for easy replacement and reuse.
- Final Check: Before placing the pad in your diffuser, ventilated container, pillowcase, or anything else you choose to use it in, be sure to double-check the assembly of your pad to ensure all layers are aligned and firmly attached.
Experiment with different materials and scents until you find a few favorite combinations and fragrance profiles.
Using and Maintaining DIY Diffuser Pads
So, you’ve crafted your own DIY essential oil diffuser pads, and now comes the fun part – using and maintaining them for optimal scent diffusion. Let’s dive into some simple yet effective tips to ensure you get the most out of your homemade EO DIY creations.
Inserting the Pads in Diffusers
When it comes to inserting your DIY diffuser pads into different types of essential oil diffusers, the key is to ensure a snug fit. For diffusers with designated slots or compartments, gently place the pad in the allocated space.
If you have a diffuser that requires you to add the pad manually, carefully tuck it in to prevent any loose edges that could affect the diffusion process. This can be a big money saver for diffusers that use pads. Just be sure to check the warranty info to ensure you won’t void the terms.
Refreshing the Scent
To keep your diffuser pads smelling fresh and lively, consider refreshing them with a few drops of essential oil. Simply add a couple of drops of your preferred essential oil onto the pad to rejuvenate the scent. You can also experiment with different oil combinations to create unique aromas and extend the lifespan of your pads.
Cleaning and Reusing
Maintaining cleanliness is essential for prolonging the efficacy of your diffuser pads. Once you’ve used them multiple times, they’ll start to accumulate buildup. You can either clean them or create new pads at that point. If you’re using felt, you could even throw them in the next load of laundry.
To clean them, gently dab a cloth with a homemade mild soap solution and wipe the surface of the pad. Ensure they are completely dry before reusing them with a new essential oil. This simple step not only maximizes the lifespan of your pads but also allows you to explore a variety of scents from time to time.
This DIY solution is so inexpensive that deciding to clean the pads, reuse them, or make new pads is inconsequential.
Creative Ideas for DIY Diffuser Pads
Let’s explore some inspiring ideas to elevate your essential oil experience.
Seasonal Themes
Bringing the essence of different seasons and holidays into your DIY diffuser pads can enhance the ambiance of any space. Consider these creative ideas:
- Spring Florals: Infuse your diffuser pads with the scents of fresh blooms like lavender and jasmine.
- Summer Sunshine: Create pads with citrus oils for a bright and invigorating aroma.
- Fall Harvest: Use warm and spicy oils like cinnamon and clove to capture the cozy feel of autumn.
- Winter Wonderland: Blend comforting scents such as peppermint and pine for a festive touch.
Gift Giving
DIY diffuser pads make heartfelt gifts that show you care. Here are some ways to present them:
- Gift Baskets: Arrange diffuser pads with a selection of essential oils in a decorative basket for a complete aromatherapy gift.
- Personalized Packaging: Wrap individual pads in beautiful fabric pouches or small glass jars tied with a ribbon for a personal touch. DIY burlap gift bags can also be wonderful creative options.
- Gift Sets: Create themed sets of diffuser pads based on recipients’ preferences, such as relaxation or energy-boosting blends.
Enhance your space or surprise someone special with these DIY diffuser pad ideas tailored to seasonal themes and gift-giving occasions. Let your creativity flow as you craft unique aromatherapy experiences for yourself and your loved ones.
Wrap-up: EO Diffuser Pads
DIY essential oil diffuser pads offer a customizable and cost-effective way to enhance your aromatherapy experience. By creating your own pads, you can tailor the scents to your preferences and enjoy the therapeutic benefits of essential oils in a personalized way.
Crafting these pads not only allows you to explore your creativity but also promotes a sustainable approach to wellness. The versatility of DIY diffuser pads opens up a world of possibilities for unique projects, from aromatherapy necklaces to car diffusers.
Remember, you can also involve the family in this DIY craft and uncover their favorite designs and scent profiles.
DIY Diffuser Pads FAQs
1. What are DIY Diffuser Pads?
DIY diffuser pads are a simple and cost-effective way to enjoy the benefits of essential oils without investing in expensive diffusing devices. These pads, often made of materials like cotton or felt, can be infused with your favorite essential oils to create a personalized aromatherapy experience.
2. How Do I Make DIY Diffuser Pads?
Making DIY diffuser pads is a fun and easy process. You can use materials like cotton rounds or felt pads. Simply add a few drops of your preferred essential oils onto the pad and allow them to absorb the scent. You can make simple or complex designs, and it’s entirely up to you. If you have kids, let them help with the creations!
These pads can be placed in various locations to enjoy the gentle release of aromatic oils throughout the day.
3. What Essential Oils Can I Use on DIY Diffuser Pads?
Depending on your preferences and fragrance preferences, you can use a wide range of essential oils on DIY diffuser pads. Popular choices include lavender for relaxation, peppermint for energy, eucalyptus for respiratory support, and citrus oils for a refreshing scent.
Experiment with different oils to find your perfect blend. Try oils like myrrh, frankincense, or sandalwood for spicier scents.
4. How Long Do DIY Diffuser Pads Last?
The longevity of DIY diffuser pads can vary based on factors like the type of essential oils used, the quality of the pad material, and the environment in which they are placed.
On average, a well-saturated pad can provide fragrance for several days to a week before needing to be refreshed with more essential oils or cleaned.
5. Where Can I Use DIY Diffuser Pads?
You can place them in areas like your car, closets, drawers, or even under your pillow for a soothing aroma at night. These pads can also be handy for travel, providing a familiar scent in unfamiliar environments. Throw one in the suitcase or even in your purse when out and about.
Get crafting and infuse your surroundings with the natural scents of essential oils.