Where to Buy Essential Oils – Important Facts You Need to Know
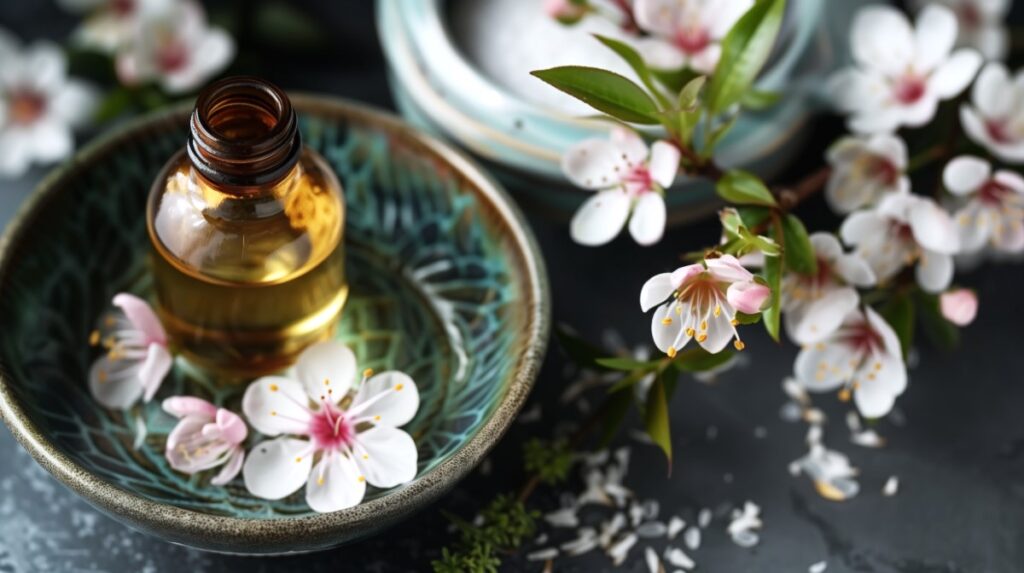
Where to Buy Essential Oils: If you’re exploring essential oils for the first time, or even if you’ve been using them for years, you’ve likely wondered where to buy essential oils that are truly worth your money. The internet is […]
Where to Buy Essential Oils – Important Facts You Need to Know Read More »